
All Blogs
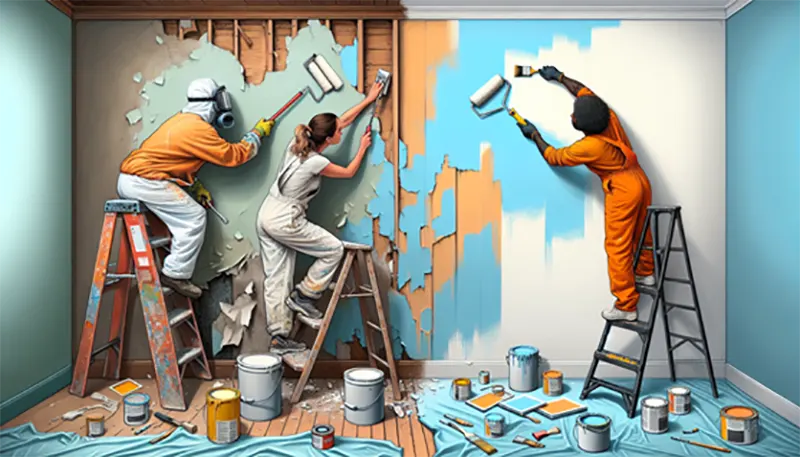
From Old to New: A Step-by-Step Guide on How to Strip Paint from Walls
Oct
When tackling a renovation project, understanding how to strip paint from walls is fundamental for us to ensure a pristine and effective application of new paint. Preparation is key, involving the cleaning of walls, repairing damages, and creating a smooth surface for painting.
This process is not just about aesthetics; it addresses various concerns such as peeling, cracking, discolouring, and the desire for a change in style or design, alongside health considerations and restoration needs.
Our journey through this guide will introduce us to a variety of methods for paint removal, including chemical, heat-based, and mechanical techniques. Each method comes with its own set of advantages and considerations, making it crucial for us to choose the right approach for our unique situation. From preparation to the disposal of leftover paint and residue, we’re here to provide a comprehensive step-by-step guide to make this daunting task manageable and successful.
Understanding Different Types of Paint
As we delve into how to strip paint from walls, it’s crucial to understand the different types of paint and conditions that might necessitate paint removal. Here are some scenarios where stripping old paint becomes essential:
- Age and Layers: If the walls haven’t been painted in many years and have accumulated many layers of paint, it’s time to consider stripping. Over time, these layers can lead to issues with adhesion when new paint is applied.
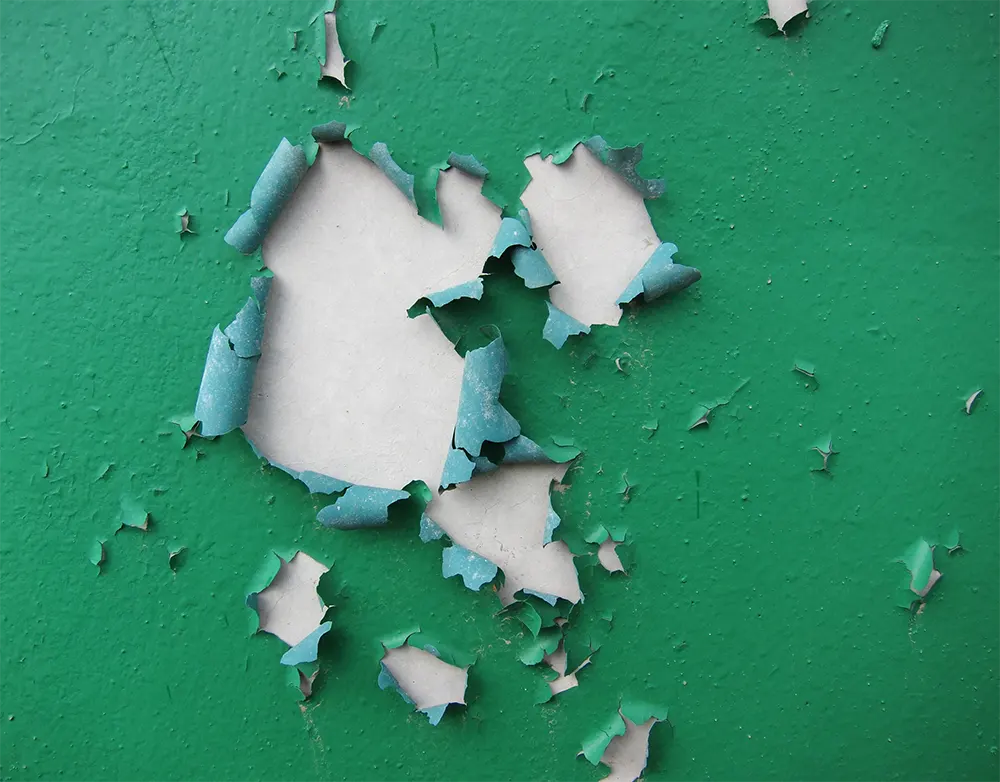
- Condition: Walls with chipped, peeling, or flaking paint are prime candidates for paint stripping. Similarly, if there are bubbles or blisters under the paint surface, it indicates that moisture or air has been trapped beneath, necessitating removal.
- Colour: Dark paint colours can be particularly challenging to cover. Stripping such paint can provide a cleaner slate for a lighter or different colour application.
Moreover, a critical safety consideration is lead content. Homes painted in the seventies or earlier may have paint that contains lead. Before embarking on paint removal, it’s imperative to test for lead content to ensure safety measures are in place. Lead-based paint requires special handling to avoid health risks, making professional consultation advisable in such cases.
Preparation for Paint Removal
Before embarking on the journey of how to strip paint from walls, a thorough preparation phase is crucial to ensure success and safety. Here’s a structured approach to get your walls ready for paint removal:
- Safety and Initial Checks:
- Always check if the paint contains lead, especially in homes built before the mid-1960s. This step is non-negotiable for health and safety.
- Choose the right paint removal method and gather all necessary materials beforehand.
- Test a small, inconspicuous area to anticipate the outcome and adjust techniques if necessary.
- Cleaning and Repairing:
- Clean the walls using sugar soap and a sponge to remove dirt, grease, or stains, ensuring a clean surface for effective paint stripping.
- Fill in any holes or cracks with the appropriate filler, considering the surface type (plastered or painted) for optimal results.
- Surface Preparation and Area Protection:
- Sand down the surface with the correct sandpaper to create a smooth and even texture, crucial for clean removal and subsequent painting.
- Protect surrounding areas and the floor with masking tape and protective sheets to avoid damage and ensure easy cleanup.
- Ensure the room is well-ventilated to protect against dust and chemical fumes, moving furniture out of the way and covering what cannot be moved.
By meticulously following these preparational steps, the process of paint removal becomes more manageable and efficient, laying a solid foundation for a successful renovation project.
Chemical-Based Paint Removal Methods
In our exploration of how to strip paint from walls, chemical-based paint removal methods stand out for their effectiveness, especially on challenging surfaces and intricate details. Here’s a structured approach to employing these methods:
- Application: Begin by liberally applying a chemical-based paint stripper to the wall. It’s crucial to select the right stripper based on the surface and the number of paint layers. Brush, spray, or roll on the product, ensuring full coverage.
- Action Time: Allow the chemical stripper to sit for the recommended time, which can range from 5 to 20 minutes. During this period, the paint will begin to bubble and chip, signalling it’s ready for removal.
- Removal Process:
- Initial Scrapping: Use a paint scraper or shave hook tool to gently remove the softened paint. For intricate areas, a smaller tool may be necessary to get into tight spaces.
- Cleaning: After scraping, it’s essential to clean the surface to neutralize the chemicals left behind. Cold water or paint thinners can be effective, depending on the type of stripper used.
- Repeat if Necessary: Some brands may require multiple coats and scraping between each coat to fully remove the paint.
Safety Measures: Always wear protective gear, including gloves, goggles, and a dust mask or ventilator, to safeguard against chemical exposure. Ensure good ventilation in the working area to disperse fumes.
Chemical strippers, while potent, come with their set of pros and cons. They excel in removing paint from curves and corners and can target one layer at a time. However, their toxic nature, potential mess, and cost must be weighed. For environmentally-conscious choices, water-based, solvent-free strippers are available, combining efficiency with safety.
Heat-Based Paint Removal Techniques
Moving on to heat-based paint removal techniques, we introduce a method that, while demanding caution, provides an effective alternative to chemical strippers. Heat guns and steam cleaners are at the forefront of this approach, each with its unique application process:
Heat Guns:
-
- Always ensure the heat gun is kept away from flammable materials and is turned off before setting it down to prevent accidents.
- Position the heat gun at a 45-degree angle to the wall, heating the paint until it bubbles. Once bubbling, remove the heat source and use a decorator’s scraper to peel away the softened paint.
- For wood surfaces, the same careful approach helps avoid damage, with the added recommendation of keeping the gun moving to prevent scorching.
Steam Cleaners:
-
- A steam cleaner operates by applying heat and pressure, loosening the paint for easier scraping.
- Hold the steamer approximately 6 inches from the wall, moving it back and forth. After a few minutes, the paint should soften, simplifying the scraping process.
Regardless of the method, wearing protective eyewear, a mask, and thick gloves is crucial due to the high temperatures involved and potential fumes. For those concerned about environmental impact and safety, modern infrared paint strippers present a lower-temperature alternative, significantly reducing the risk associated with traditional heat methods.
This innovative approach allows for the immediate sanding and priming of surfaces, streamlining the renovation process.
Mechanical Methods for Removing Paint
Transitioning from chemical and heat-based methods, we delve into mechanical techniques for the removal of paint from walls, each offering unique advantages depending on the surface and paint type.
Sanding and Scraping: A primary mechanical method, involving the use of sandpaper or an electric sander to weaken the paint’s adhesion to the wall.
This process is complemented by scraping, using tools like a scraper or a wire brush to remove flaked or bubbling paint sections.It’s crucial to wash the wall with soap and water before starting and ensure good ventilation to manage dust.
Although effective, sanding is not recommended for removing full layers of paint due to potential inefficiency and mess.
Pressure and Power Washing: For exterior surfaces, pressure washing can dislodge paint from wood, using high-velocity water. Power washing takes this a step further by using heated water and detergents, making it more suitable for metal surfaces.
Both methods require control to avoid damage to the underlying surface.
Innovative Tools: Products like Peel Tec and the Dhamma Brush offer modern solutions for paint removal. Peel Tec is ideal for exterior walls, including concrete and brick, peeling away paint gently.
The Dhamma Brush, equipped with steel blades and diamond particles, efficiently removes paint while leaving minor swirl marks, showcasing the balance between efficacy and surface preservation.
These mechanical methods, from traditional sanding to innovative tools, provide diverse options for paint removal, catering to different surfaces and paint types.
Disposing of Residue and Leftover Paint
After successfully stripping paint from walls, disposing of the residue and leftover paint responsibly is crucial. Here’s how we can ensure the process is as environmentally friendly as possible:
Usable Paint:
Offer it to friends, family, or neighbours who might need it for their projects.
- Utilize online platforms like Freecycle or Freegle to find a new home for your leftover paint.
- Community RePaint is a fantastic resource for donating surplus paint to those in need. Visit their website for more information.
Non-Usable Paint Disposal:
- Harden by applying it to scrap paper or cardboard and leave it to dry before disposing of it in your household bin.
- For larger quantities, mix with dry soil, sand, or sawdust in the can and allow it to harden. Then, take it to your local household waste recycling centre.
- Empty paint cans (including spray cans) can be taken to Warwickshire’s Household Waste Recycling Centers for disposal.
Special Disposal for Paint Thinner:
- Pour the thinner into a transparent pot with a sealed lid. Allow the paint to settle, then siphon off the clear top layer for reuse.
- Dispose of the remaining paint thinner at a hazardous waste disposal centre, ensuring rags soaked in thinner are sealed in a metallic pot or can with a lid before disposal.
Remember, specific disposal methods are required at Household Waste and Recycling Centers, and all visits must be pre-booked. Always ensure the paint container’s lid is securely fastened, and stored away from extreme temperatures.
Conclusion
Throughout this guide, we have navigated the diverse methods of stripping paint from walls, exploring the intricacies of chemical, heat-based, and mechanical techniques.
Each method, with its own set of benefits and considerations, has been meticulously detailed to empower you with the knowledge necessary for tackling your renovation project.
From the critical initial step of testing for lead content to the final stages of residue disposal, our guide aims to provide a comprehensive roadmap for achieving a clean, paint-ready surface.
In conclusion, the process of removing paint from walls is an essential preparatory step in the transformation of any space. By carefully selecting the most suitable method and adhering to safety guidelines, you can ensure not only the success of your project but also contribute to an environmentally friendly approach in disposal practices.
Popular Products
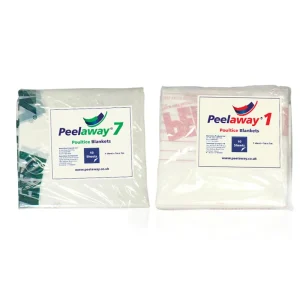
Barrettine Peelaway
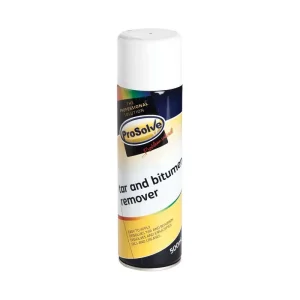
Aerosols
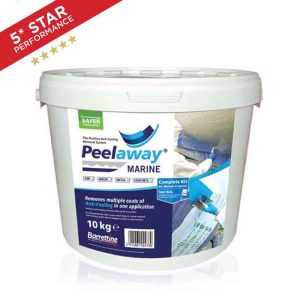
Barrettine Peelaway
Barrettine Peelaway
Barrettine Peelaway
Barrettine Peelaway
Barrettine Peelaway
Barrettine Peelaway
Contacting us is easy!
Email: sales@palatinepaints.co.uk
Call Us: 01942 884 122
Contact form: https://www.palatinepaints.co.uk/contact-us
Live Chat Service: Press the small blue icon at the bottom left of your screen.