All Blogs
How to Avoid a Bad Paint Job

Jan
Wondering why your paint work has failed? Want to avoid a bad paint job? These paint trouble shooters and hints will help you make a success of your next painting task.
The basics of a good paint job, in our opinion, centre around a few basic principles: choosing the right paint for the surface; preparing the surface sufficiently; painting in the right conditions and applying the paint properly. Below is more information with quick links to our comprehensive guides, but first some basic hints and tips that everyone should know:
Quick Tips to Avoid a Bad Paint Job
- Preparation is the key to a good paint job – follow the instructions on the tin!
- Choose the right paint for the surface you’re painting (ask the manufacturer/supplier if you’re unsure)
- Always allow time to dry between coats (temperature and weather conditions will affect this, see below)
- You cannot resolve a long term damp issue by painting over it (even with damp proof paint)
- Match batch numbers if buying several tins to avoid slight colour differences
- If you’re buying to allow for later ‘recoats’ choose tin sizes accordingly. Once opened, paint won’t last as long as in a sealed, unopened tin
- Painting doors or window frames? Allow drying time before you close them or they’ll stick!
- A lot of indoor paint is not suitable to use outdoors – always check the label or ask your supplier
- Use quality primer, this will give you a good surface to paint on
- Similarly make sure the primer you choose is compatible with your chosen topcoat
- Don’t paint onto damp surfaces (especially wood)
Choosing Paint for Different Surfaces
It’s unrealistic expecting a great finish if you have the wrong paint for the surface you want to paint. Usually it’s straightforward as it will say on the paint tin which substrates it is suitable for.
But occasionally you will need to do some additional research to establish which paint is best.
Here’s a brief overview of what to consider when choosing your paint for specific surfaces; we also have some more comprehensive guides to help with this so we’ve provided links to these where relevant.
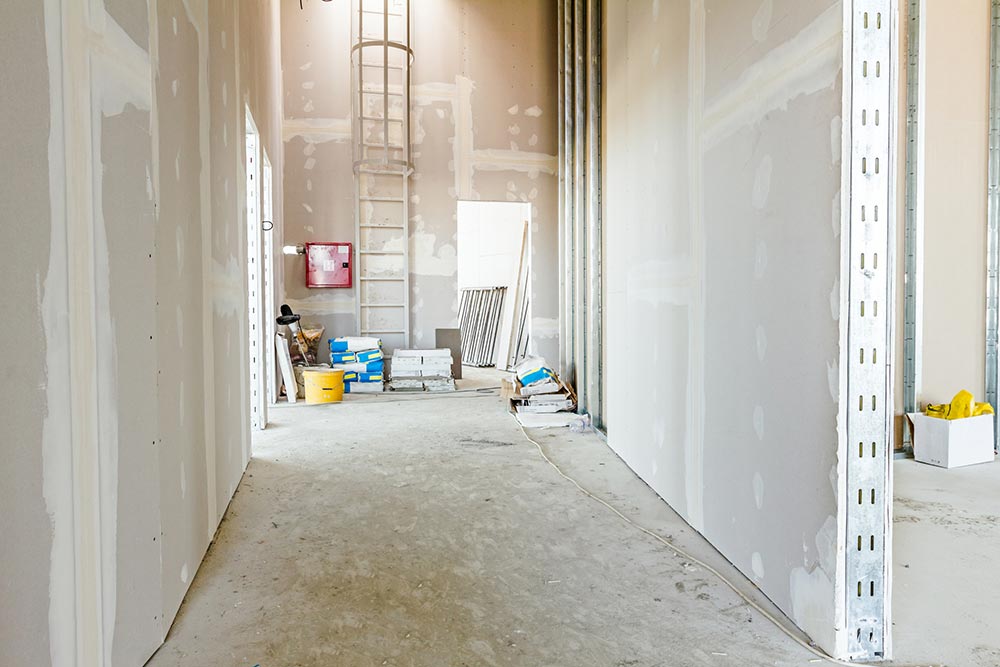
Painting Internal Walls
Generally if you’re painting internal plastered walls, it’s relatively easy, choose an emulsion and select your finish of matt or silk. You may find various descriptions and prices – brand names are not always the best! Usually after you’ve decorated a few times, you will know what type you like to use the most.
*Tips: Vinyl is hard wearing and easy to apply and a silk finish is easier to wipe down than matt (so better for bathrooms etc) but can show blemishes more than a matt finish.
If you’re unsure about whether or not you need an undercoat check our guide to Which Primer for Wood, Walls and Ceilings? If walls have been freshly plastered make sure the plaster is fully dried before painting and always apply a thinned coat of your emulsion or a dedicated undercoat before applying at full strength.
Choosing Paint for Concrete and Masonry
For general exterior masonry, a water based masonry paint will usually be fine, choose a breathable paint for brickwork where possible. If however, you are planning on painting masonry when damp weather is imminent or conditions are cold, then it’s well worth considering a Pliolite based coating like Pliocem Masonry Paint.
This latter product has the advantage that we can make it up in many different colours. If you are painting onto brick, it is usually best to avoid using paint that is not formulated specifically for masonry as it may not adhere well or provide sufficient protection against moisture and alkali attack.
Exterior Masonry Paint
As for concrete, a masonry paint (like Pliocem mentioned above) will be suitable for many external projects like walls and pillars etc. For a more flexible, chemical resistant coating that can be jet-washed, it is worth looking at a chlorinated rubber paint, while bitumen paints are ideal for weather proof coatings on concrete roofing etc.
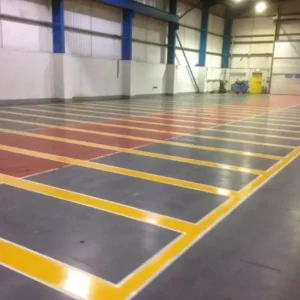
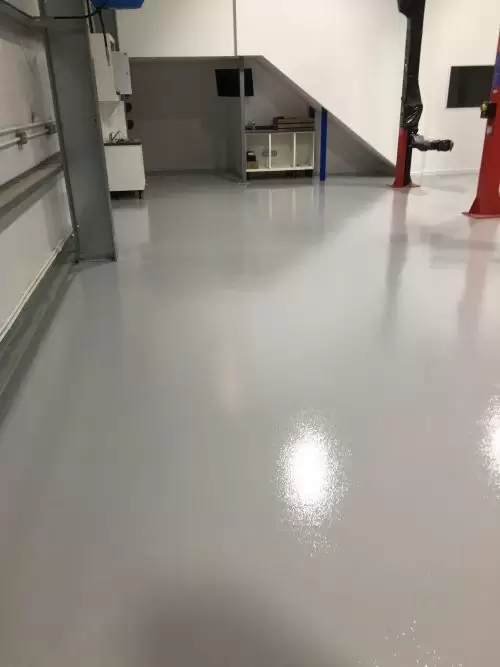
For concrete floors, there are lots of options, so you’ll need to consider the level and type of traffic, any contact with grease or chemicals and generally how much abuse floor is likely to take – a list of relevant guides is below.
For smaller sections of concrete where you might be matching an area of painted wood or metal, don’t shy away from using the same paint – but check suitability first – most water based paints for wood will not adhere to concrete. Most of our solvent based, alkyd resin topcoat paints will be fine for these dual purpose projects.
Painting concrete and masonry – Our guides to help:
Choosing and Using Masonry Paint
Exterior masonry paint has to stand up to extremes of temperature, moisture and UV rays;[...] Read more!
Jun
Bitumen Paint for Roofs & Metal: Guide + Buy Bitumen Paint (UK Delivery)
Bitumen based paint questions, answered here for you! Bitumen is known for its waterproofing and[...] Read more!
44 Comments

What is Chlorinated Rubber Paint?
With a whole range of uses due to its water repellency, flexibility, durability and chemical[...] Read more!
22 Comments
Feb
Which Paint to Use on Which Floors?
Yes, you can paint wooden and concrete floors! Here are our tips and advice the[...] Read more!
5 Comments
Nov
Choosing Metal Paint
The main things to consider when choosing paints for metal are: the type of metal to be painted, rust and protection against scuffs etc. For most exterior metals, rust will always be an issue, more so in damp environments.
One of the other issues with painting metal is adherence and some metals can cause more problems with this than others. In general, to combat this and also to protect against rust, it’s always advisable to apply a primer when painting metal (though in some cases you may get away with a direct to metal paint).
Some metal paints and primers are not suitable for non ferrous metals like aluminium and some offer better protection against rust than others. Our guide to metal primers will help you establish which primer you need.
The paint you select might vary depending on the level of protection needed against the elements and knocks and whether you are applying by spray, brush or roller. Again the information on the label will be a good guide to whether it’s suitable for your metal but we always recommend that our customers contact us via chat, phone or email for more information.
Painting Metal – Our guides to help:

Which Metal Primer to Use and When?
Which metal primer to use? Our blog on metal primers explains which primer paints are[...] Read more!
18 Comments
Jan

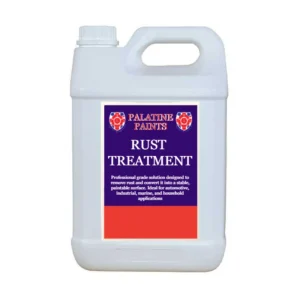
Introducing Rust Removers and Converters
We're constantly on the lookout for relevant complementary products or accessories here at Palatine Paints.[...] Read more!
Nov

How to Choose a Protective Paint
You'd think choosing a protective paint topcoat with a good finish, especially for metal or[...] Read more!
Mar
Choosing Wood Paint
Wood is a beautiful and practical material but needs love and protection to stay looking at its best. Indoors, when not in humid conditions, wood is relatively easy to look after and choosing paint is relatively straightforward…just look for a paint described as suitable for wood.
Getting a good finish (matt, satin or gloss) when painting wood is often a little trickier – choose a good quality paint and read below for tips on how to apply effectively.
Outdoors, wood is susceptible to the effects of nature including UV rays, water and dirt which can all cause problems like rot, warping and mould. Paint will protect the wood and again, a primer will with help with this.
Wood oils and preservers are also used to protect wood in the place of a primer and some can be painted over but not all paints are suitable. See our guides below which provide far more information.
Painting Metal – Our guides to help:

How to Paint and Protect Barns, Farm Buildings and Log Cabins
Our top tips for painting farm buildings, barns, sheds, log cabins, summerhouses and well, pretty[...] Read more!
Feb

Looking After Exterior Wood: Part 1, Fences
Our series of guides to make looking after the wood at your home or business[...] Read more!
Jan

Caring for Exterior Wood: Part 2, Windows and Doors
Caring for exterior wood windows and doors forms part 2 in our series of our[...] Read more!
Mar
Preparing and Painting
Preparation is everything when painting and that includes selecting the right time to perform the task; this is especially crucial when painting outdoors. Here are our tips:
Choose the Right Time to Paint: Temperature and Moisture Levels
Paints are generally formulated for application within certain temperature ranges, this means they may not perform as expected if applied outside this range. Always check the technical data sheet which your manufacturer will provide if asked. If you have no other option than to paint in slightly cooler or warmer temperatures than recommended, there are things you can do that may help mitigate the negative effects:
-
- Firstly, remember that the surface to be painted may be cooler or warmer than the ‘ambient’ or air temperature. On warm summer days, work in the shade if you can…so take note of where the sun shines on your surface and at what times of day before you start. On the other hand, on cooler autumn/winter days for example, try and paint in direct sunlight as the temperature of the surface will warm slightly (the surface is always a few degrees colder than the air temperature in winter)
- If possible move items indoors to a slightly heated environment like a garage or warehouse when painting. Also store paint in a warm area before using it
- Colder temperatures can affect the paint’s viscosity and it will “drag” when applied
- Don’t apply externally if a freeze is predicted as moisture in paint may crystallize instead of evaporating. You may not notice this until the warmer weather when blisters start to form
- Painting in the rain has the obvious problem of raindrops landing on the paintwork and ruining the finish – avoid it where possible
Well Ok, sometimes if it’s a rush job and there is minimal rust, people do a bit of spot priming and apply a good topcoat. This will last for a period of time but will need re-visiting sooner rather than later. Rust will cause damage if not treated, eventually corroding metal. Remove rust or use a converter before painting – read our guide Introducing Rust Removers and Converters. Ensure the surface is free of any grime or flakes and apply an appropriate primer.

Untreated metal!
Rust will always reappear if not treated!
Always Prepare the Surface
Bare metal should be degreased and any rust and loose material removed. With bare wood, sand until smooth and ensure all loose particles are cleared before applying the primer.
If you’re considering previously painted wood or metal it’s advisable to lightly sand down gloss painted surfaces, wipe down with a damp cloth and allow to dry before painting.
If the surface is poor, remove all the paint down to the bare wood using a paint remover or by sanding, then prime and paint as above. With any surface, always ensure it is free from grease, oil, dust and other contaminants. For emulsioned walls, sugar soap is a good choice for cleaning in preparation for painting.
Allow For Curing Time
One of most common reasons for paint failing is because the coating beneath it has not cured or dried sufficiently. With concrete, curing can take 4 to 6 months for all the excess moisture to evaporate. Painting before concrete has fully cured will prevent paint adhering properly or cause it too bubble in the weeks following application.
Similarly when applying several coats of paint, including primer always read the technical information which will give drying times. You will usually find that several times are provided to indicate stages of drying (1) Surface dry (2) Hard Dry (3) Overcoatable. Drying times change as described above, depending on surface temperature, ambient temperature and humidity levels.
Applying the Paint
Decide whether you want to use a brush or a roller…see our guide on Which Paint Rollers to Use? If using a roller, longer strokes are best, while shorter strokes are better if using a brush; in either case avoid pressing too hard.
Better quality paints tend to have a longer “working time” or a better “wet edge” which allow you to brush or roll the edge of paint that you’ve already applied without creating visible marks.
We hope this has given a little bit of insight to help you avoid bad paint jobs, in future blogs we will provide more detail about why defects occur in paint such as blisters, cisses, dimples, bleeds, foams and more!
Contacting us is easy!
Email: sales@palatinepaints.co.uk
Call Us: 01942 884 122
Contact form: https://www.palatinepaints.co.uk/contact-us
As always, we welcome comments below. We also have our online chat manned each weekday during working hours or call/email.