
All Blogs, How To Guides, Industrial & Commercial
The Ultimate Guide to Line Marking Spray Paint: Professional Tips for Concrete, Tarmac & Grass

May
What’s Covered in This Guide
- 1. Line Marking Formulations: Acrylic vs Alkyd Resins
- 2. Surface Compatibility: Tarmac, Concrete, and Grass
- 3. UK Utility Colour Codes for Contractors
- 4. Step-by-Step: How to Achieve Professional Lines
- 5. Coverage Rates, Project Estimations, and Longevity
- Tips & troubleshooting
- Frequently asked questions
Line Marking Formulations: Acrylic vs Alkyd Resins
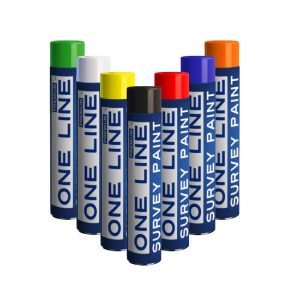
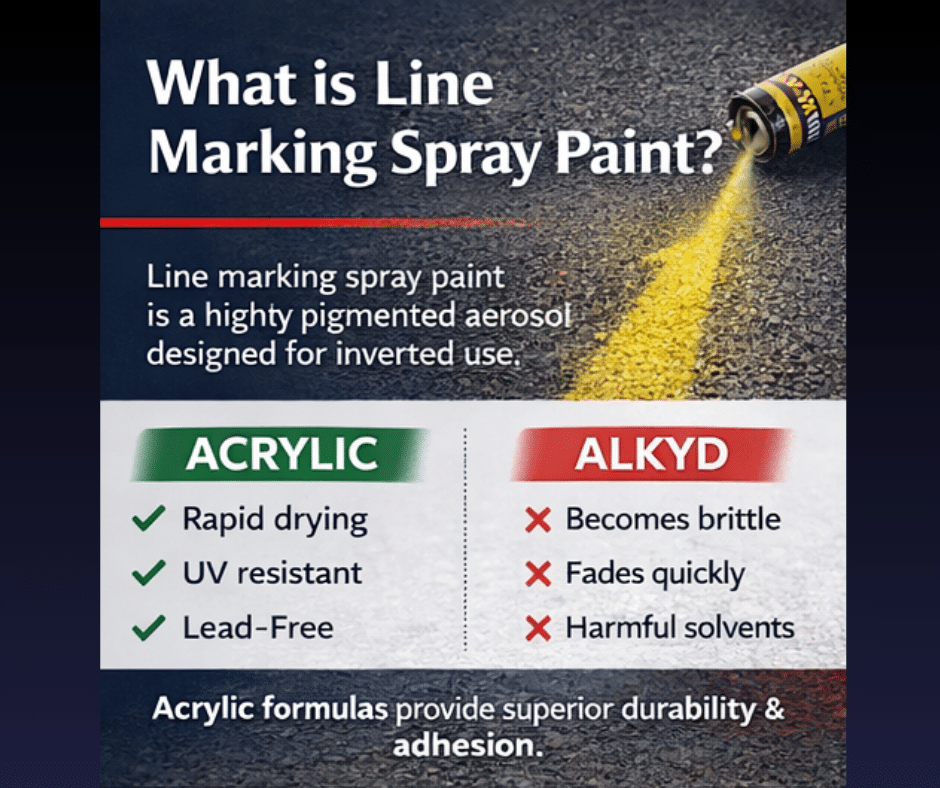
At its core, line marking spray paint is a highly pigmented aerosol explicitly designed for inverted use. Unlike standard decorative spray paints, manufacturers engineer these aerosols with a specific resin binder that allows the coating to bite into porous substrates. Consequently, selecting the correct underlying resin system directly determines how well your markings withstand daily site wear.
Many cheap alternatives rely on lower-grade alkyd resins which tend to become brittle and crack under temperature fluctuations. Conversely, a premium acrylic spray paint for line marking ensures that the applied line remains flexible and firmly bonded to the ground. Furthermore, this advanced acrylic chemistry guarantees that the sharp pigments remain vibrant even under intense UV exposure and heavy abrasion from vehicle tires.
Modern professional-grade formulations prioritize operator safety and environmental compliance alongside raw durability. As a result, professional paints are now entirely lead-free and xylene-free to reduce chemical risks during prolonged spraying sessions. Selecting these cleaner formulas protects both your workforce and the surrounding environment without sacrificing line longevity.
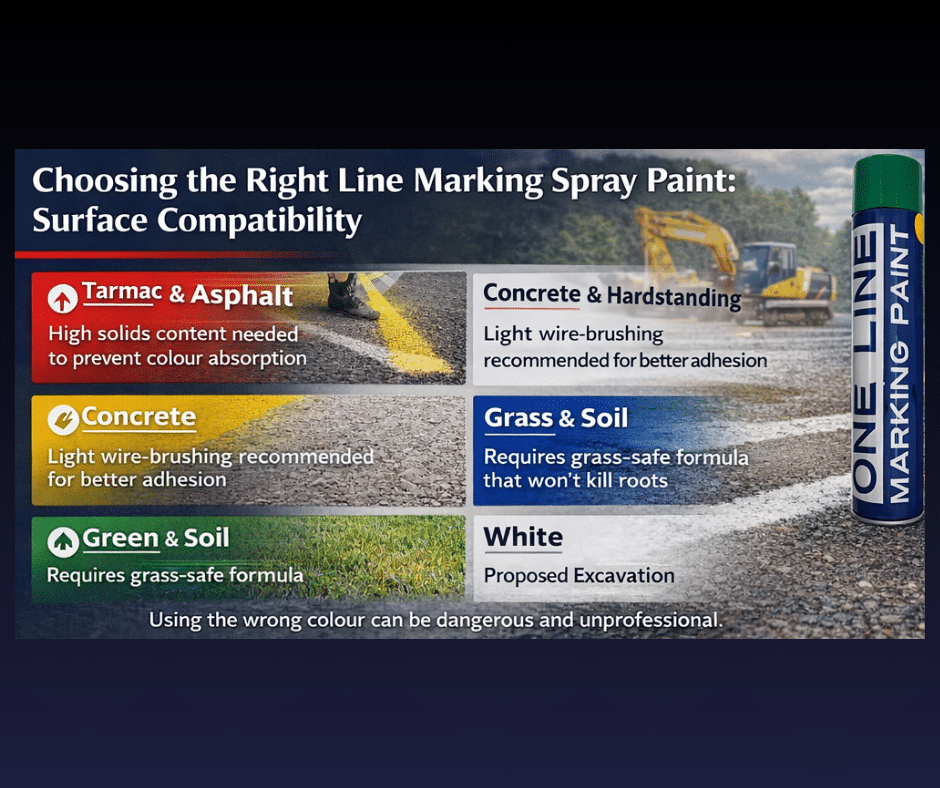
Surface Compatibility: Tarmac, Concrete, and Grass
Achieving proper adhesion requires you to match your marking spray paint formula to the specific characteristics of your substrate. For instance, tarmac and asphalt surfaces are inherently porous and contain residual oils that can easily swallow low-solids paint. Therefore, you must use a formula with a high solids content to prevent the pigment from sinking into the ground and disappearing.
On the other hand, concrete and hardstanding surfaces are much smoother, less porous, and prone to collecting fine surface dust known as laitance. To ensure your paint achieves a permanent mechanical bond here, you should perform a light wire-brushing of the area prior to spraying. This quick step clears away loose laitance and opens up the concrete face to accept the resin binder.
Finally, marking out grass and soil for sports pitches or landscaping requires a formulation that safely coats the blades without killing the roots. While standard acrylic aerosols are excellent for bright, temporary spotting marks, they are generally not intended for full-pitch painting. Understanding these distinct surface behaviours prevents premature fading and ensures crisp, clean edges across your site.
UK Utility Colour Codes for Contractors
When you carry out line marking on a live construction or excavation site, strict adherence to the UK’s standard utility color-coding system is mandatory. Demarcating underground services with the incorrect pigment represents a major health and safety risk that can result in catastrophic utility strikes. Consequently, contractors must train their teams to recognize and deploy the proper industry-standard colours before breaking ground.
The primary system designates Red exclusively for electricity and power lines, while Yellow marks out gas, oil, or steam pipes. Additionally, Blue indicates drinking water supplies, Green designates communications or fibre-optic cables, and White outlines proposed excavation boundaries. Utilizing these universal visual cues ensures that your survey markings are instantly clear to every subcontractor on-site.
| Colour | Utility | Risk Association |
|---|---|---|
| 🔴 Red | Electricity / Power | High Voltage Danger |
| 🟡 Yellow | Gas / Oil / Steam | Flammable / Explosive |
| 🔵 Blue | Drinking Water | Mains Supply |
| 🟢 Green | Communications / Fibre | Telecoms Interruption |
| ⚪ White | Proposed Excavation | Dig Boundaries |
Step-by-Step: How to Achieve Professional Lines
To transition away from a shaky, uneven finish toward sharp, straight lines, you must implement a structured application workflow. First, verify that your target substrate is completely dry and cleared of all loose debris. Although some professional aerosols claim to work on damp surfaces, the chemical bond is always strongest on fully dry ground.
Next, you must vigorously shake the aerosol can for at least two full minutes after the internal mixing ball begins to rattle. This prolonged agitation ensures that the heavy pigments and acrylic resins blend uniformly, preventing a watery or clogged spray pattern. Once mixed, select your application style based on the specific job requirements.
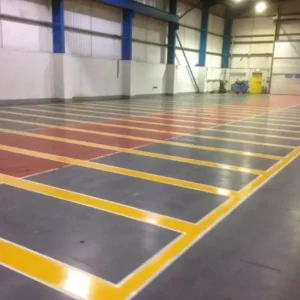
For spot marking or writing symbols, hand-held application works best by holding the inverted can roughly 10-15cm from the ground. Alternatively, for long, straight markings in car parks or warehouses, you should always utilize a 2-wheeled or 4-wheeled applicator cart. This equipment maintains a fixed height and speed, which automatically results in a perfectly uniform 50mm or 75mm line width.
Coverage Rates, Project Estimations, and Longevity
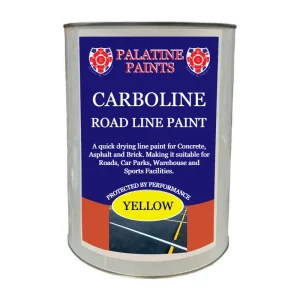
Accurate project scaling ensures you never run out of aerosol cans halfway through painting a high-traffic zone. As a general benchmark, a single 750ml can of Palatine Paints Acrylic Line Marker covers approximately 100 linear meters. Therefore, a small project consisting of 5 to 10 parking bays typically requires 2-3 cans, while a medium warehouse layout needs a full box of 6-12 cans.
For large-scale industrial estates or expansive external parking zones, facilities managers should look toward bulk pallet quantities of 48+ cans to minimize unit costs. Additionally, you should always factor an extra 10% safety margin into your calculations to account for windy over-spray or highly porous, fresh tarmac. This simple step keeps your application team moving forward without logistical interruptions.
Regarding longevity, an acrylic line marker applied to low-traffic interior concrete floors will easily last between 6 and 12 months. However, on external road junctions subjected to heavy braking forces, this lifecycle can reduce to roughly 3 months. To maximize the operational life of your lines, ensure you thoroughly pressure-wash away hidden surface oils, greases, and road salts prior to painting.
Tips & Troubleshooting
Explore our comprehensive range of high-performance Acrylic Line Marking Spray Paints—available for both delivery or collection from our store in Leigh, Greater Manchester.
Frequently Asked Questions
